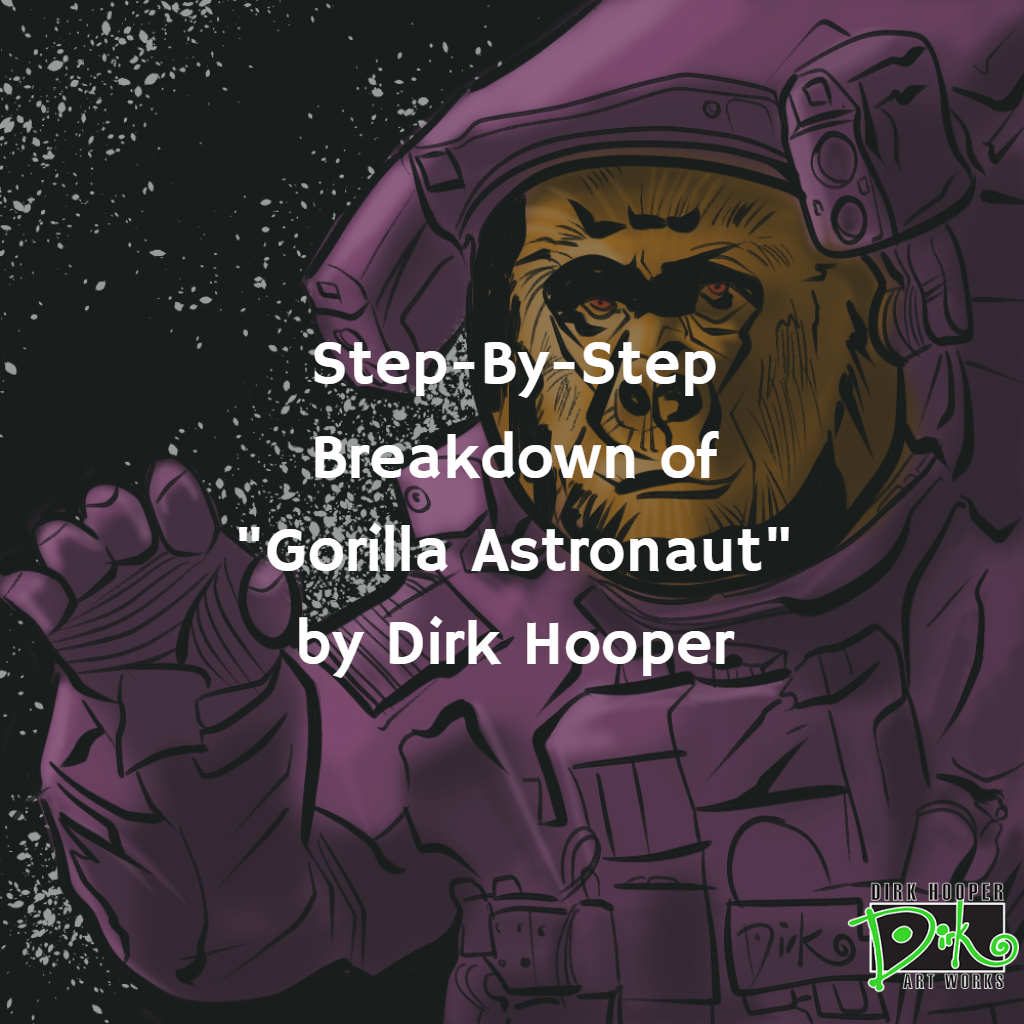
A couple of days ago I watched my buddy Shawn Wilson do some work on Clip Studio. He was working on a large pin-up piece and using that program to apply digital inks.
What I really liked about that program was how it rendered inks that looked much more natural than what I was getting through PhotoShop or Illustrator. Also, I’m using two or three different programs in my digital process and I saw an opportunity to do everything in one program.
Inks
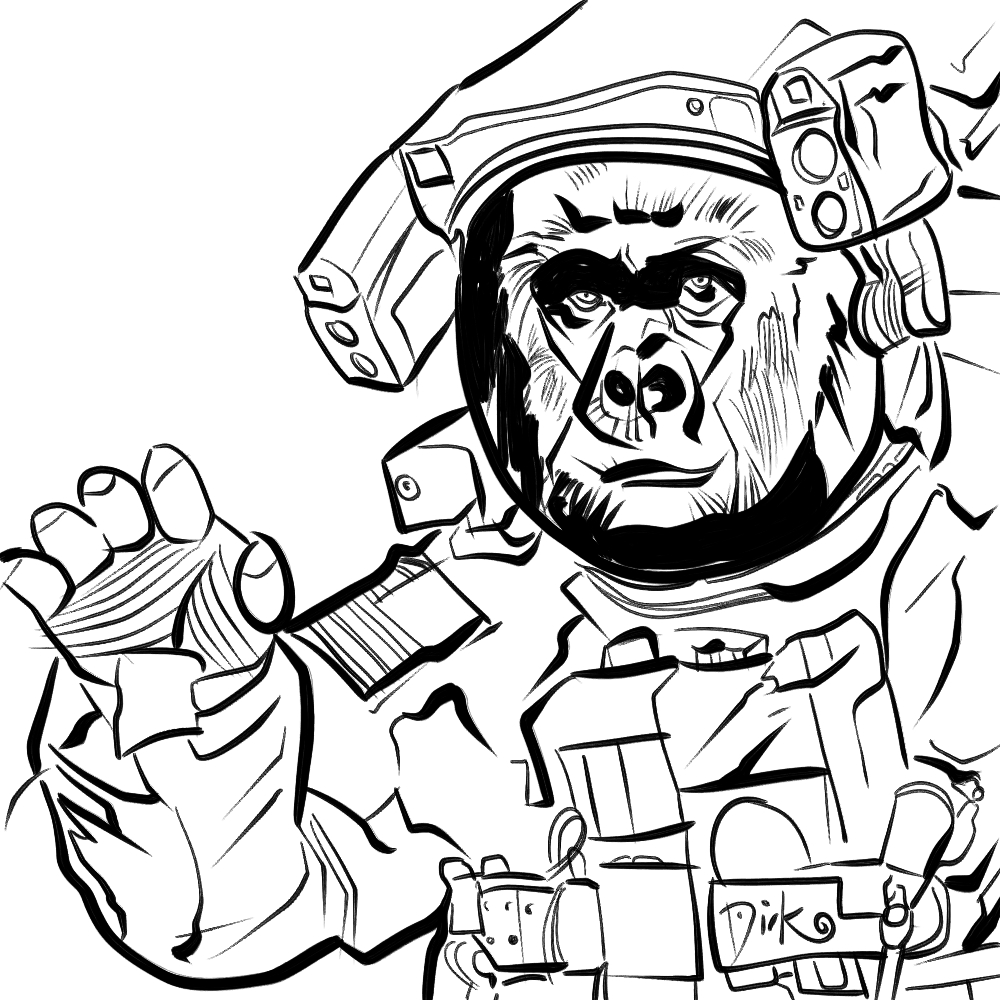
This is the inked layer of the piece. What I really seriously liked was how natural that line looks and how much fun it was to lay it out. Being the first time that I’ve done it, I’m pleased with the results and I’m looking forward to playing around with this much more in the future.
The Background
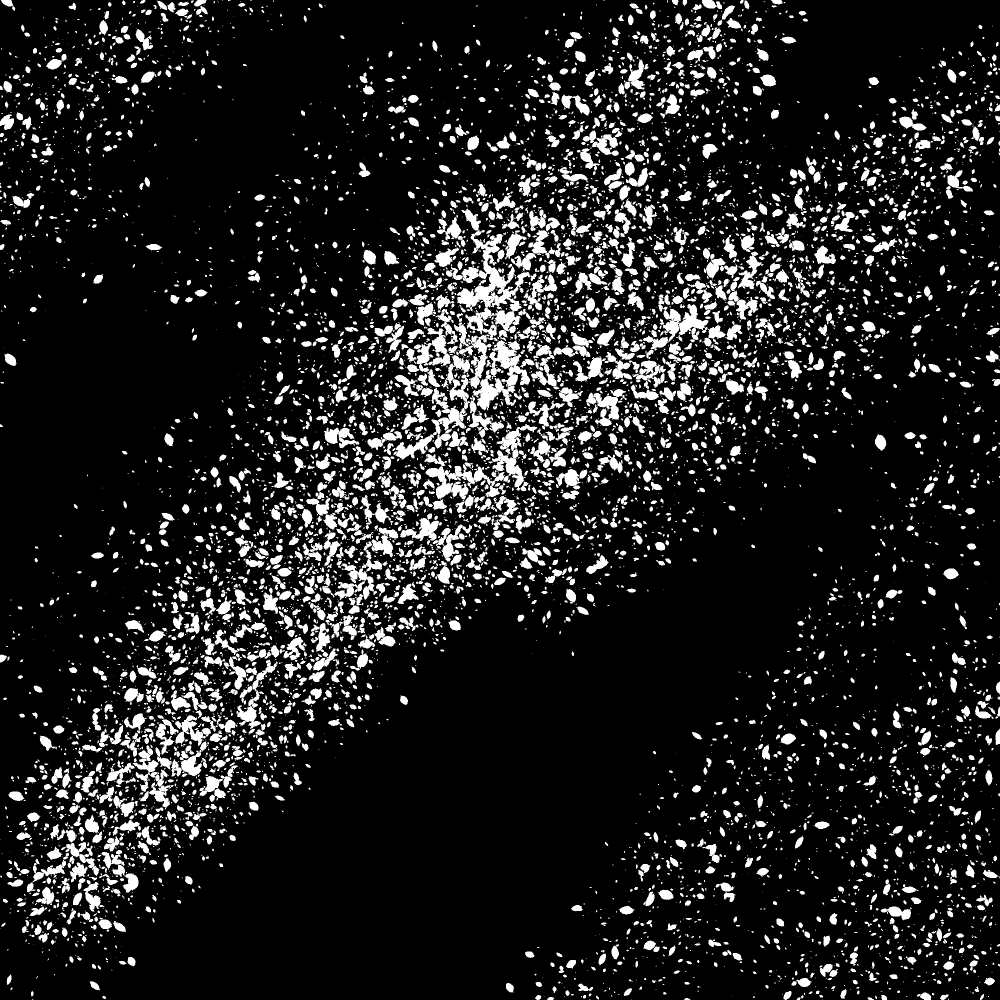
Clip Studio has a simple splatter tool that allowed me to make a neat star field in seconds.
Base Color
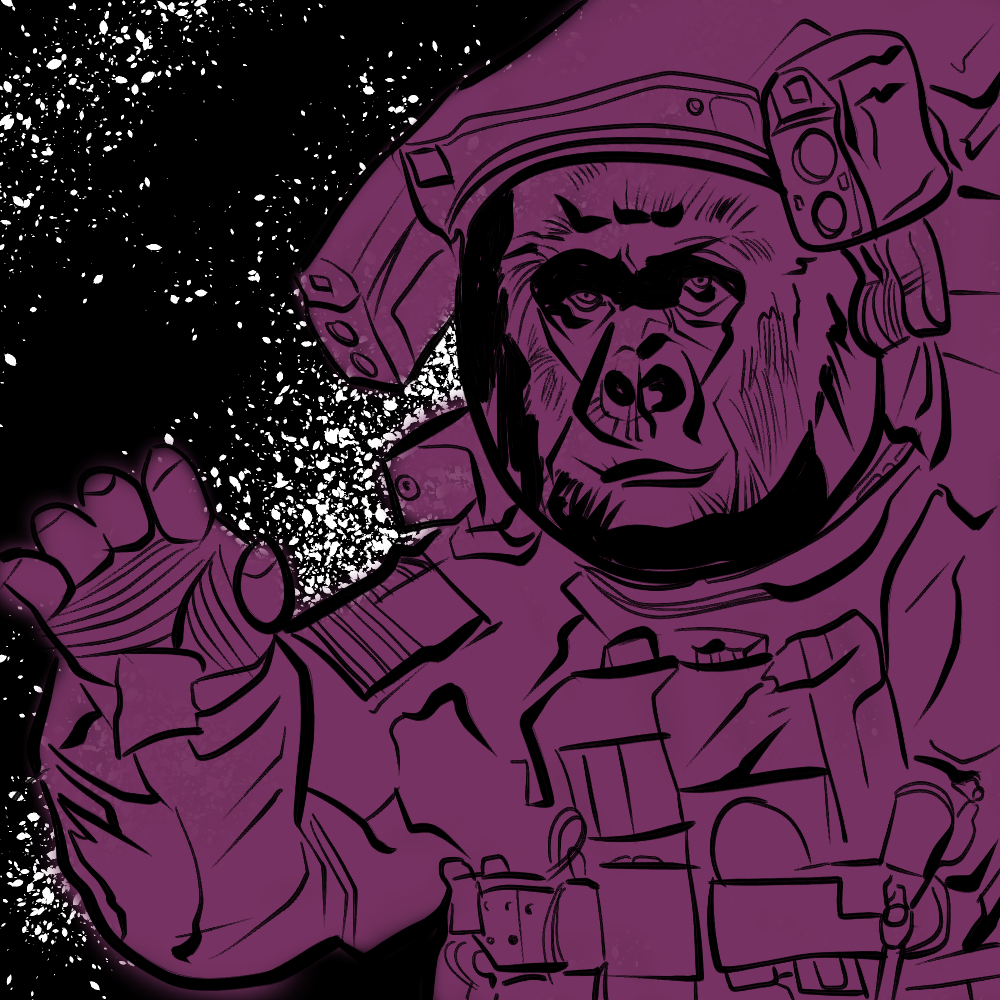
My next step was to lay down some base color using their airbrush tool.
How did I choose that color? The last time I did this sort of thing I chose the colors based on a classic piece of art.
This time around I used colors from Gretchen Albrecht’s “Golden Cloud.”
Monkey Face
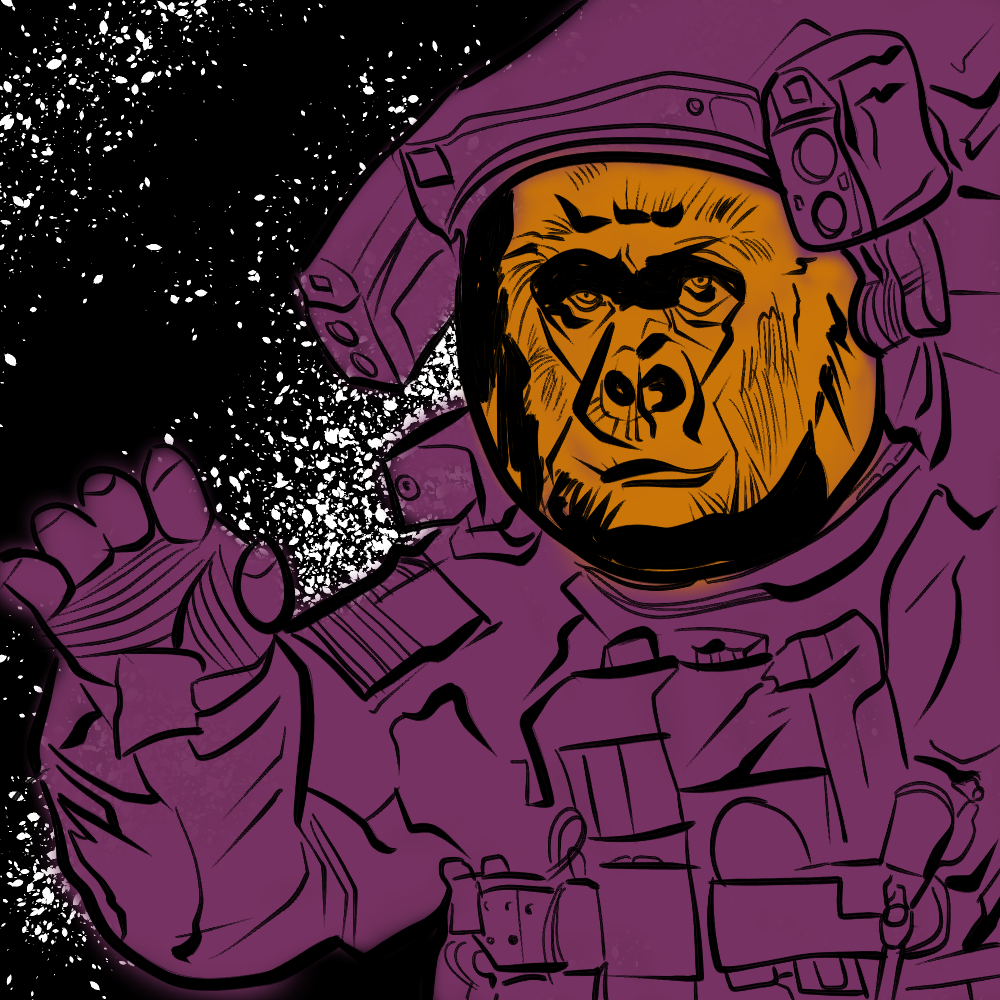
Then I filled in the face with the complementary color (which is a color on the opposite side of the color wheel).
Fill In The Darks
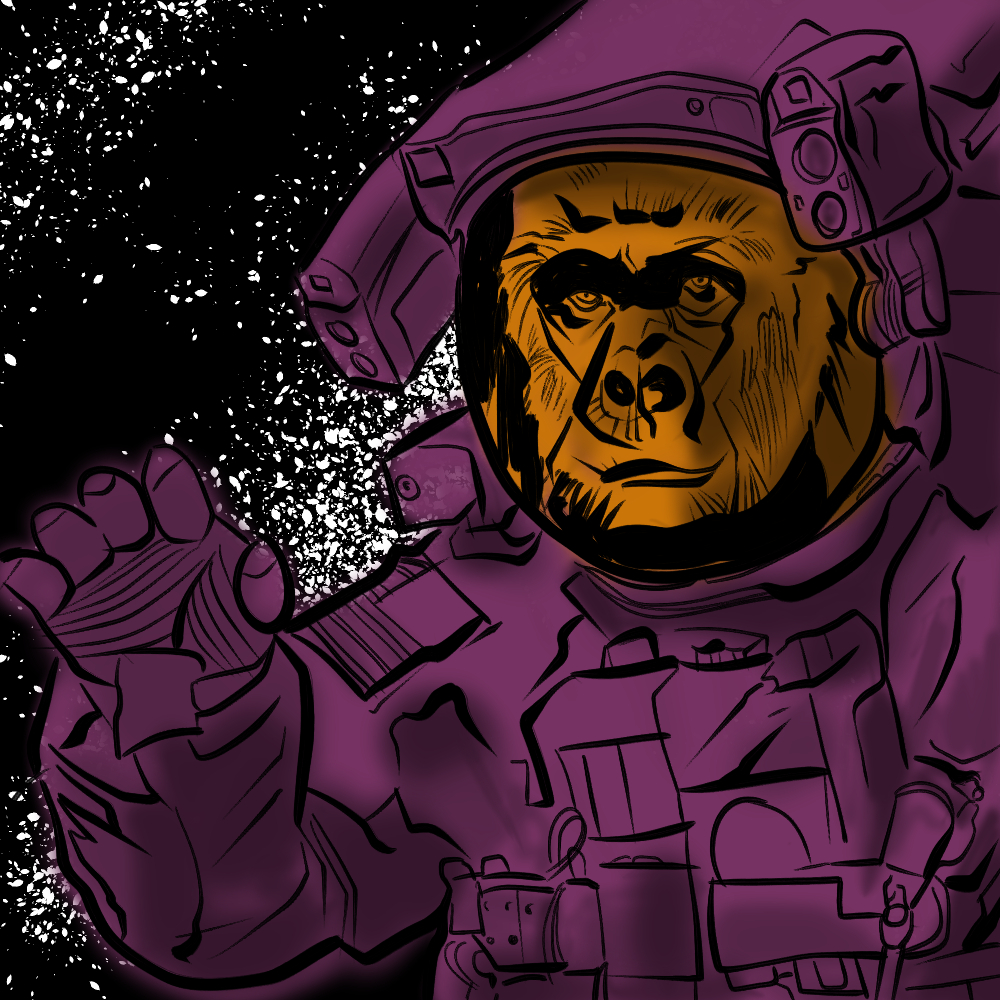
I like to take the base colors and work towards darkness next.
Fill In The Lights
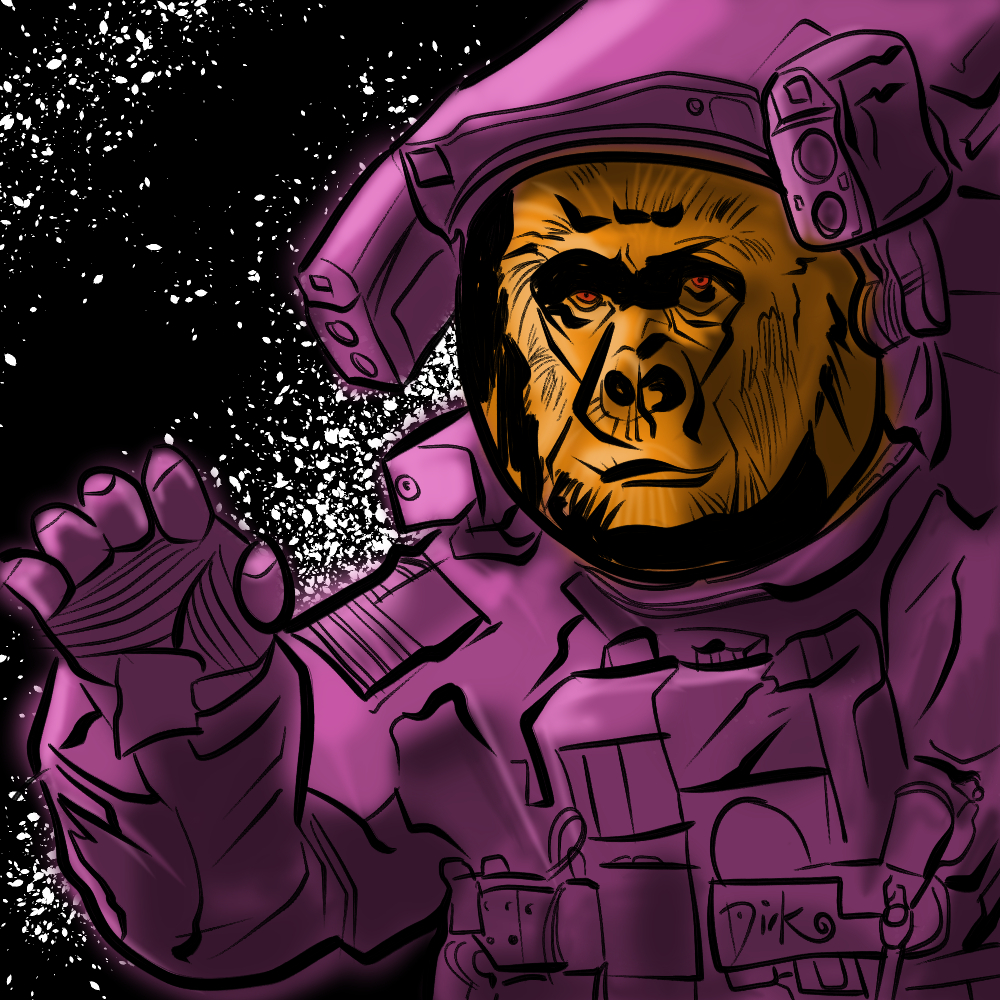
The next step is to work toward the light.
Clean Up and Finish
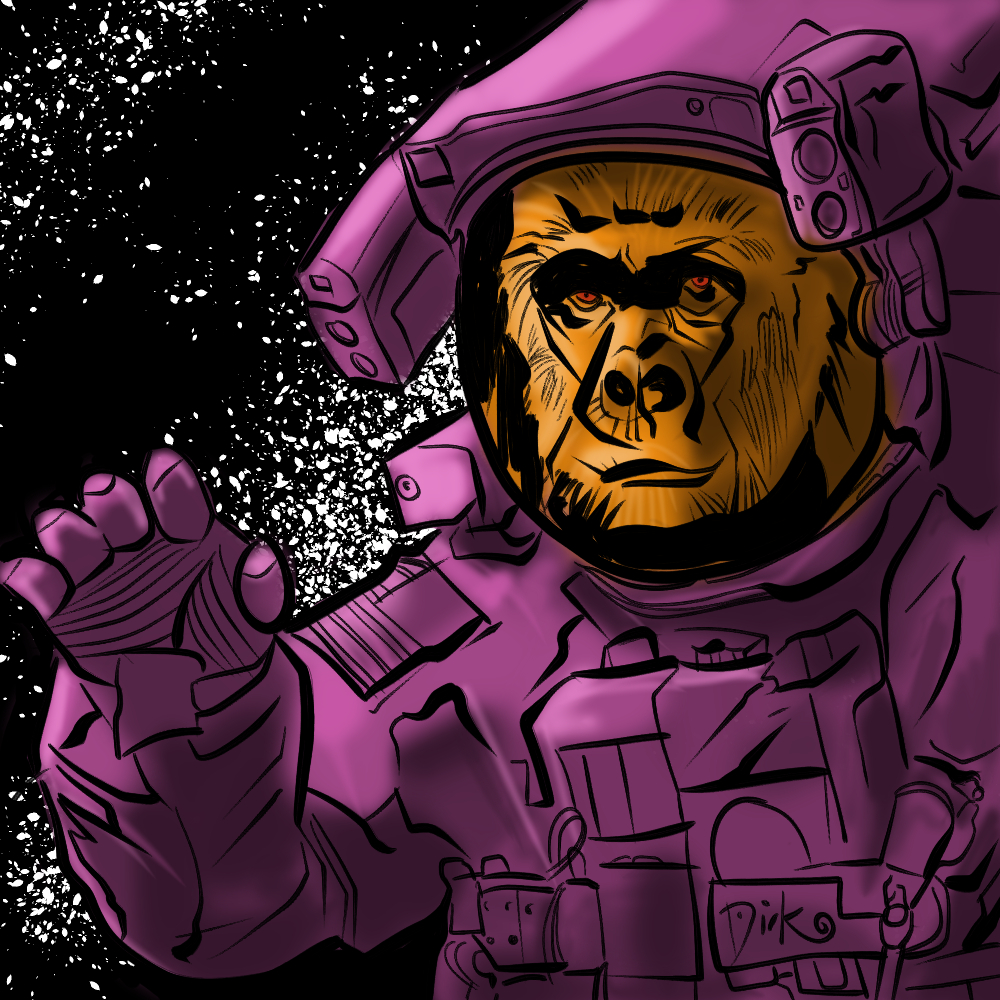
The last step is to clean up some of the overflow on the edges and make the final touches.
My concept was to create something fun to share on people’s birthdays. The benefit of doing this in Clip Studio is that I could easily create a word bubble and populate it with perfectly centered text.
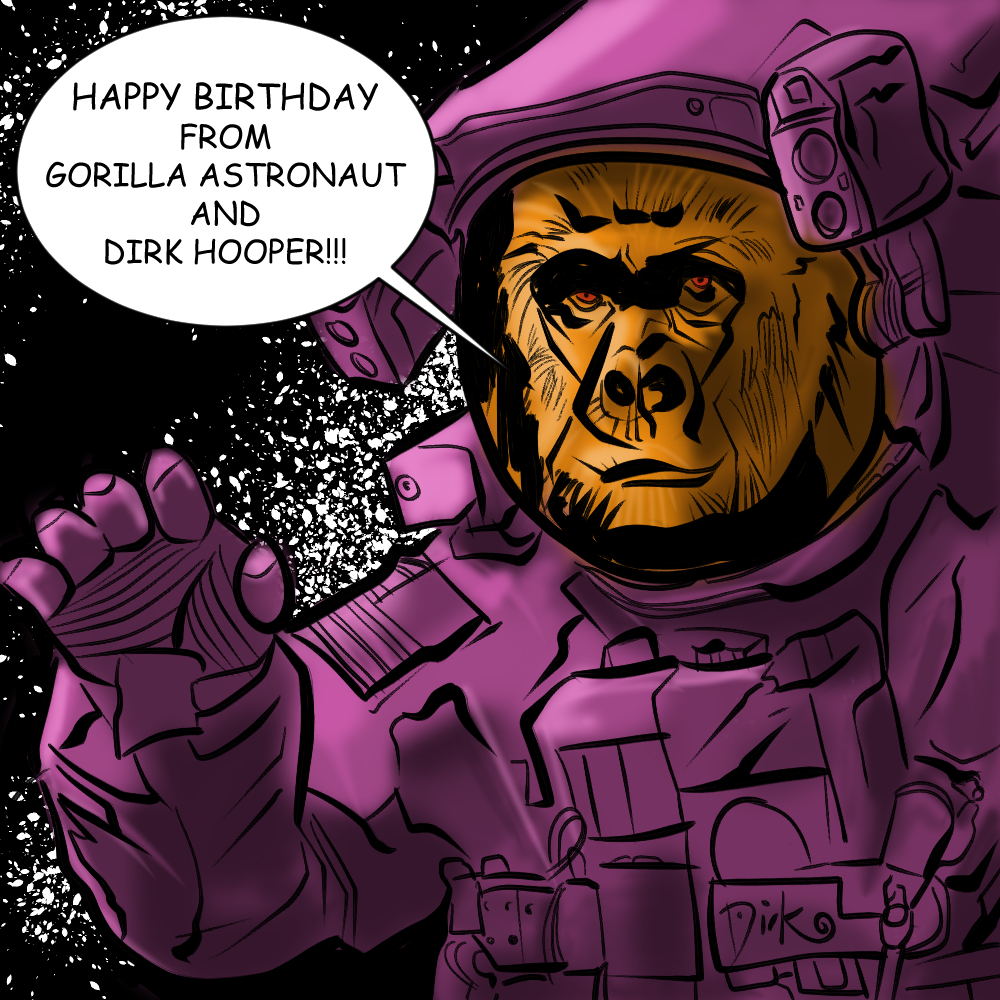
Clip Studio was fun, easy to use, and, for the first time out, I’m very happy with the results. I’m going to continue to play with that program, but I’m starting to think that I’ve found my new process.
What do you think? Please leave me your thoughts in the comments below.
RT @DirkHooper: New! Step-By-Step Breakdown of “Gorilla Astronaut” by Dirk Hooper | Dirk Hooper Fetish Photographer https://t.co/We2AkiO4Ky…
RT @DirkHooper: New! Step-By-Step Breakdown of “Gorilla Astronaut” by Dirk Hooper | Dirk Hooper Fetish Photographer https://t.co/We2AkiO4Ky…