I’m an old-school artist. I started out with pencils and markers, graduated to pen and ink, and have been published as a comic artist, a fine artist, and an illustrator.
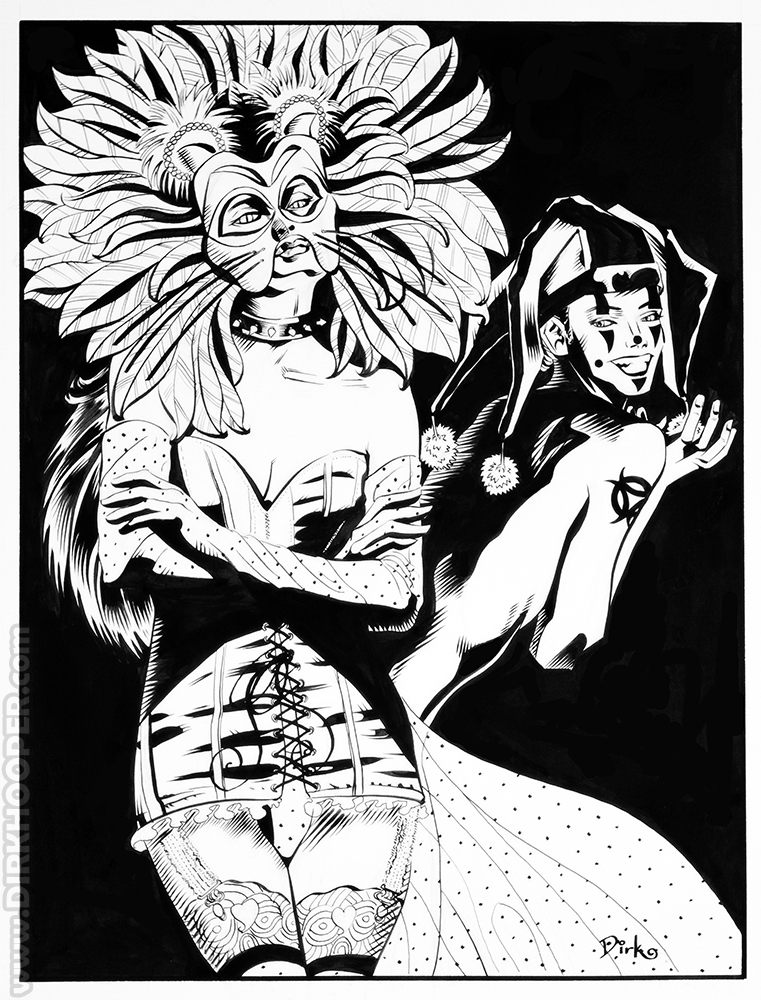
The piece above is a standard pen and ink work that I did over 20 years ago that is an example of what I used to do.
Digital art is something new to me, despite the fact that I’ve been using PhotoShop for nearly 20 years now (to work photos…)
In fact, I kind of gave up on doing artwork about 15 years ago because so much was happening with my photography and writing. Then, about four years ago Princess Zoe found out that I could draw and she started encouraging me to get back into it.
I started out by doing sketches, painting on floor tiles, using markers on t-shirts, then charcoal on paper, and back to pen and ink. I found the hunger again.
The thing is, digital art is something totally different from when I stopped doing art 15 or so years ago, and my needs are radically different too.
Digital Art
What digital art can do now is provide me a clean, fast, broad number of options, plus offer many things that would be either cost-prohibitive or difficult to do otherwise.
It was time for me to join the digital age.
Adobe PhotoShop
Four years ago I started with PhotoShop and tried painting on that platform.
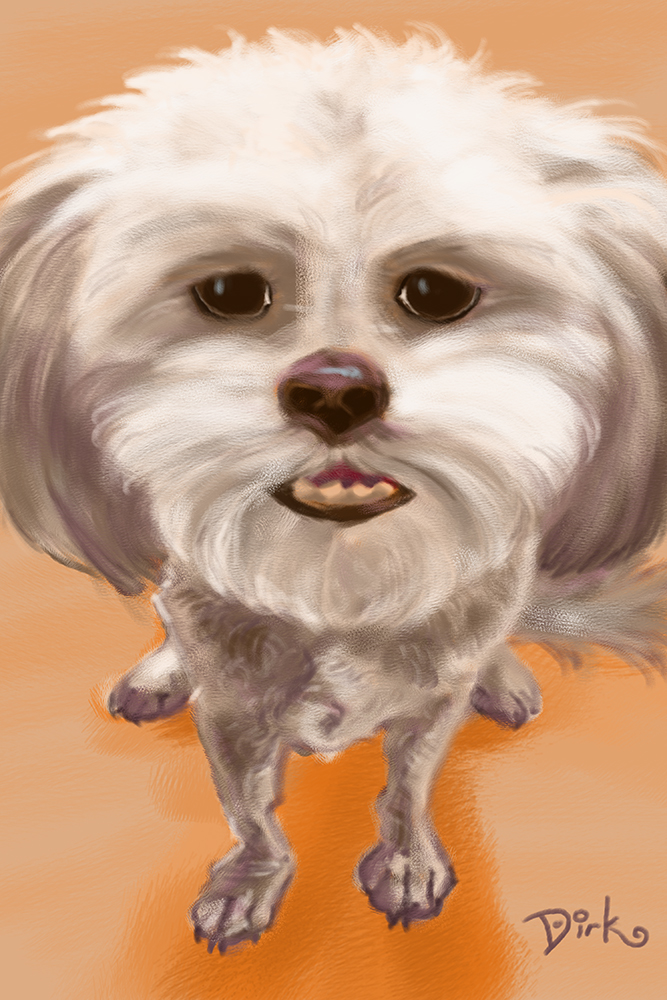
This is a digital painting I did of a dog I dearly love named Iggy. I was happy with that piece, but I kept experimenting.
Adobe Illustrator
What I really wanted to do was something closer to the comic-book-inspired work that I did 20 years ago, so I tried doing vector art in Illustrator and then coloring in PhotoShop.
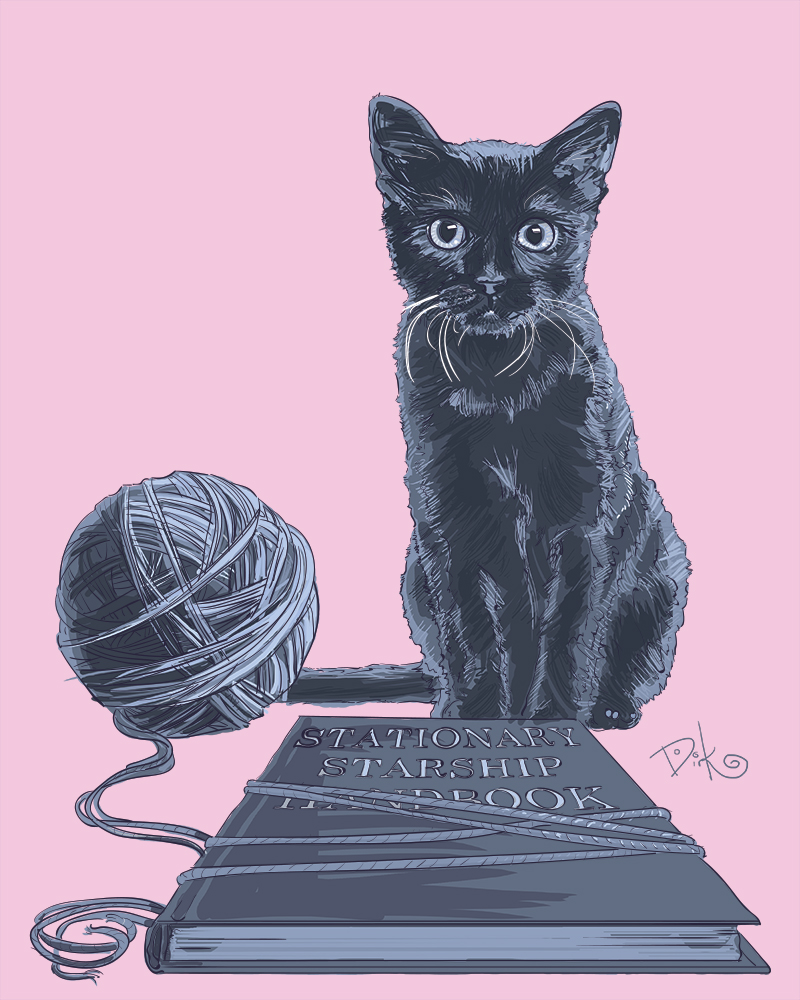
That’s how I ended up with this piece last year.
Clip Studio Paint
A couple of days ago, my friend Shawn Wilson was playing with a new digital pad and doing inks in Clip Studio Paint. What I really liked about that program is that it allowed him to do inks that looked exactly like his brush and ink work. That’s what I wanted.
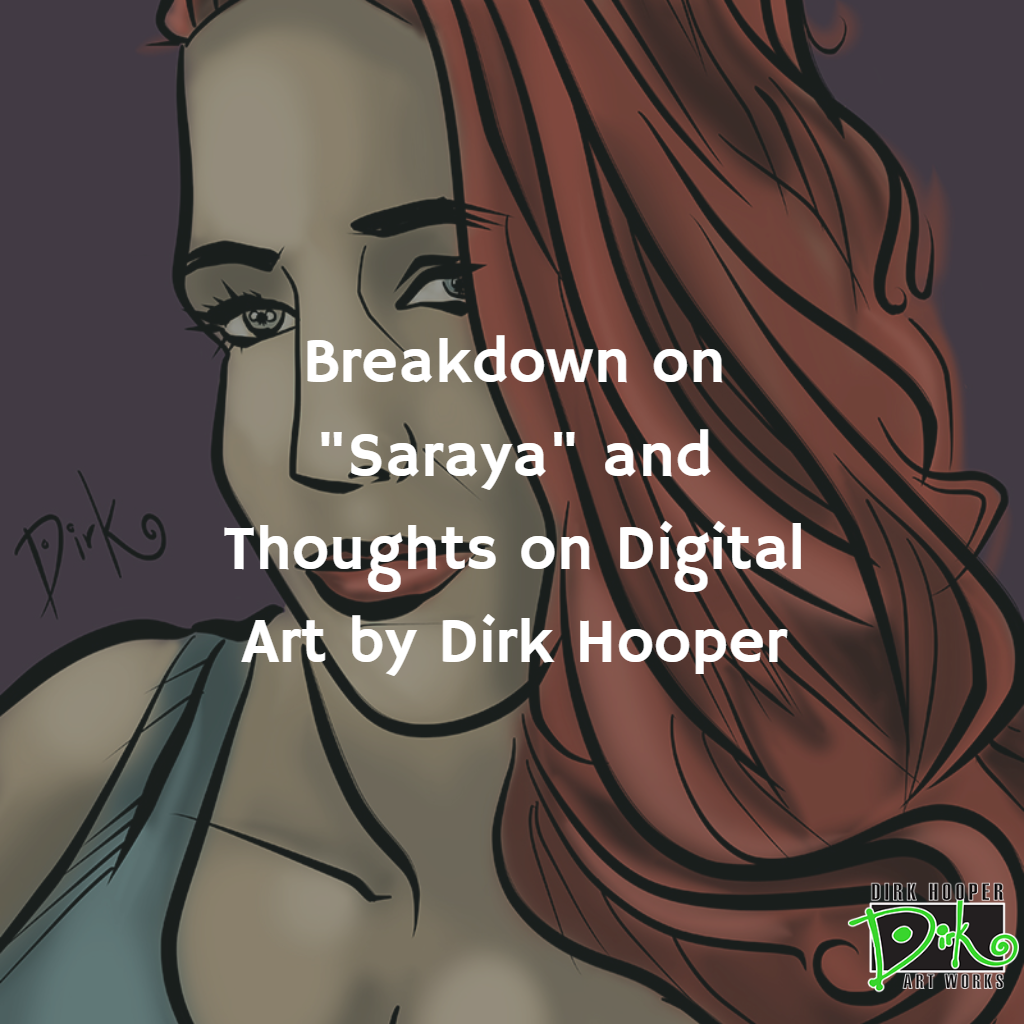
So, last night I did this piece and I’m going to walk you through it so you can get an idea of how to do digital art.
Saraya
I use an outdated Dell Studio series computer that has the graphics card kicked up a notch with a Wacom Intuos Pro tablet (the kind that you draw on the tablet surface with a pen and watch the results on your monitor.)
I’m using Clip Studio Paint for this demonstration, and this was my second piece ever with that software.
Pencils
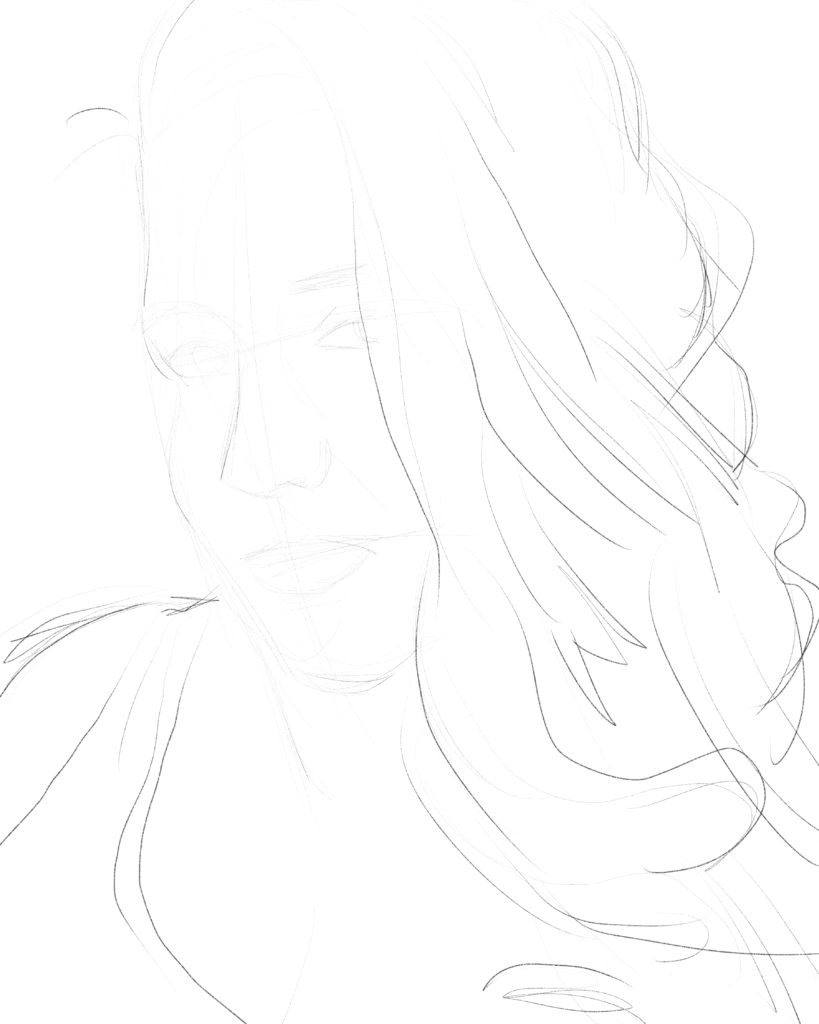
I created a 12?x 15? workspace, started a new layer, and did a sketch of my friend Saraya. I used their pencil tool, and as you can see, it gives you an effect much like a pencil on paper.
Inks
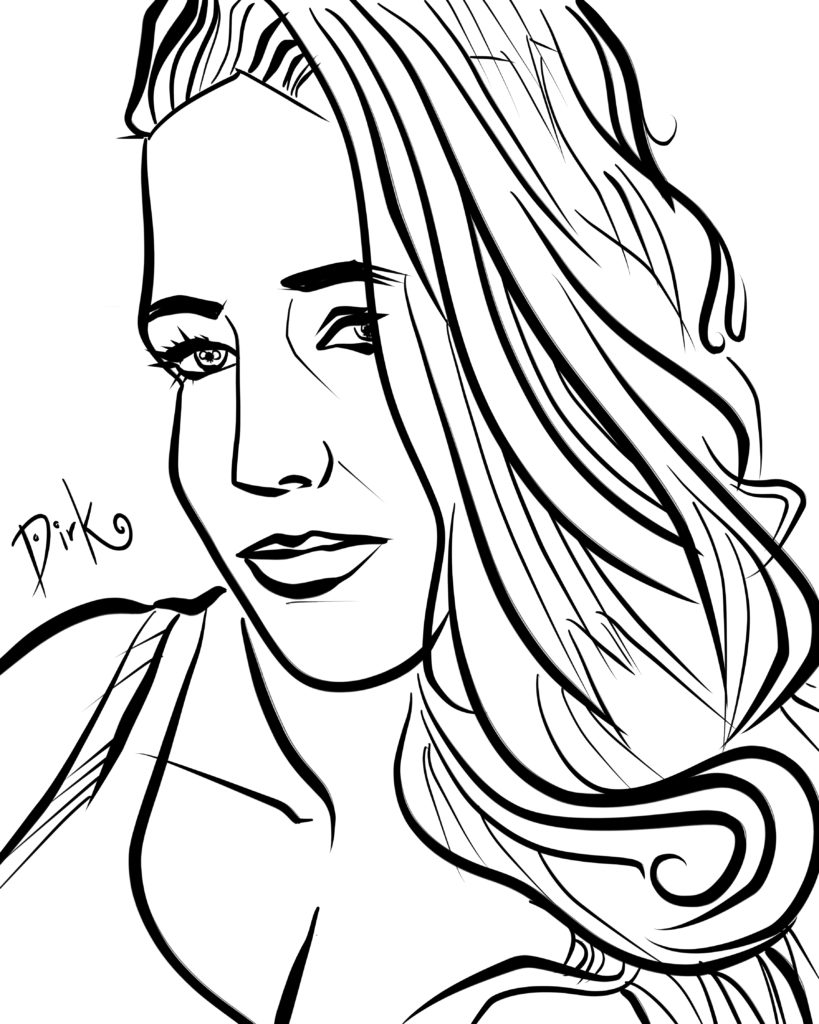
Next, using my pencils as a guide, I used the india ink tool in Clip Studio to do the “inks.” What I really love about this is how it looks almost exactly like the same style I would get if I was using an actual brush and ink.
Except if I make a mistake, or want to do the whole thing over again, I just wipe out the layer and start over.
There are very few “do-overs” with traditional art. With digital art, it’s just a keystroke away.
Plus… there’s no cleanup!
Background
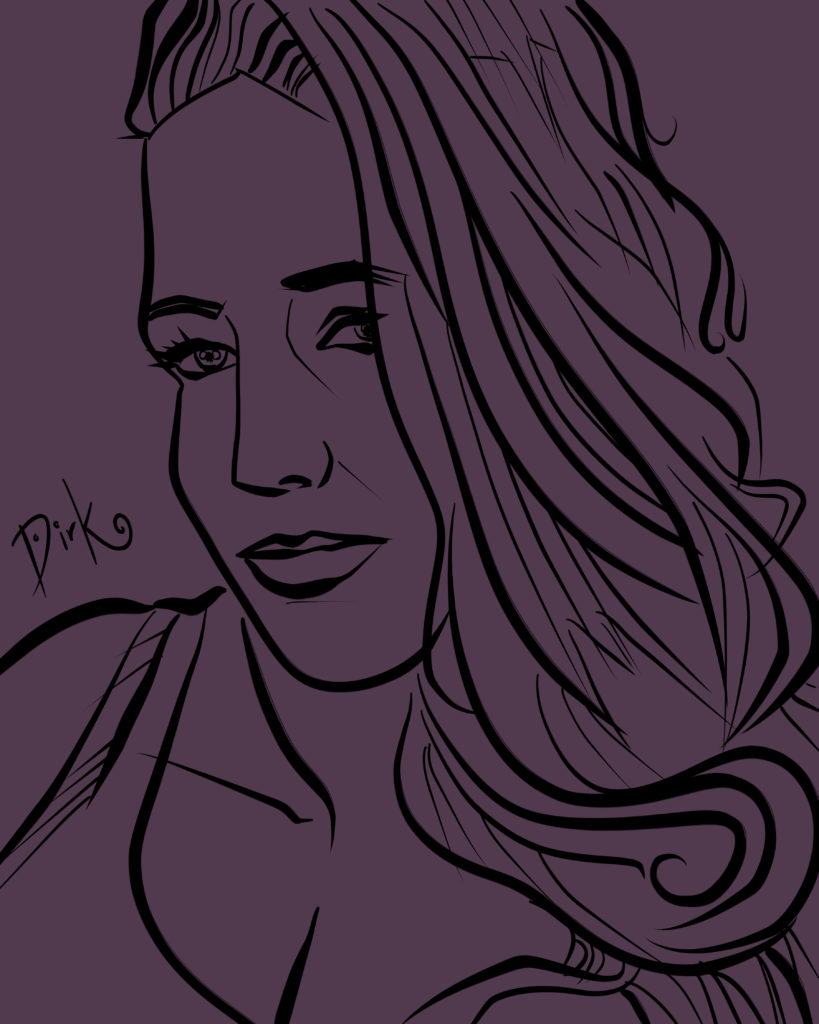
On another layer I used the fill tool to create a flat background color.
How did I choose that color? Well, lately I’ve been using artwork from masters as a way to limit my color palette and hopefully learn in the process.
The color for this piece was inspired by “Rift Scull” by James Jean.
You should definitely go check out his site. He’s amazing!
Flat Color
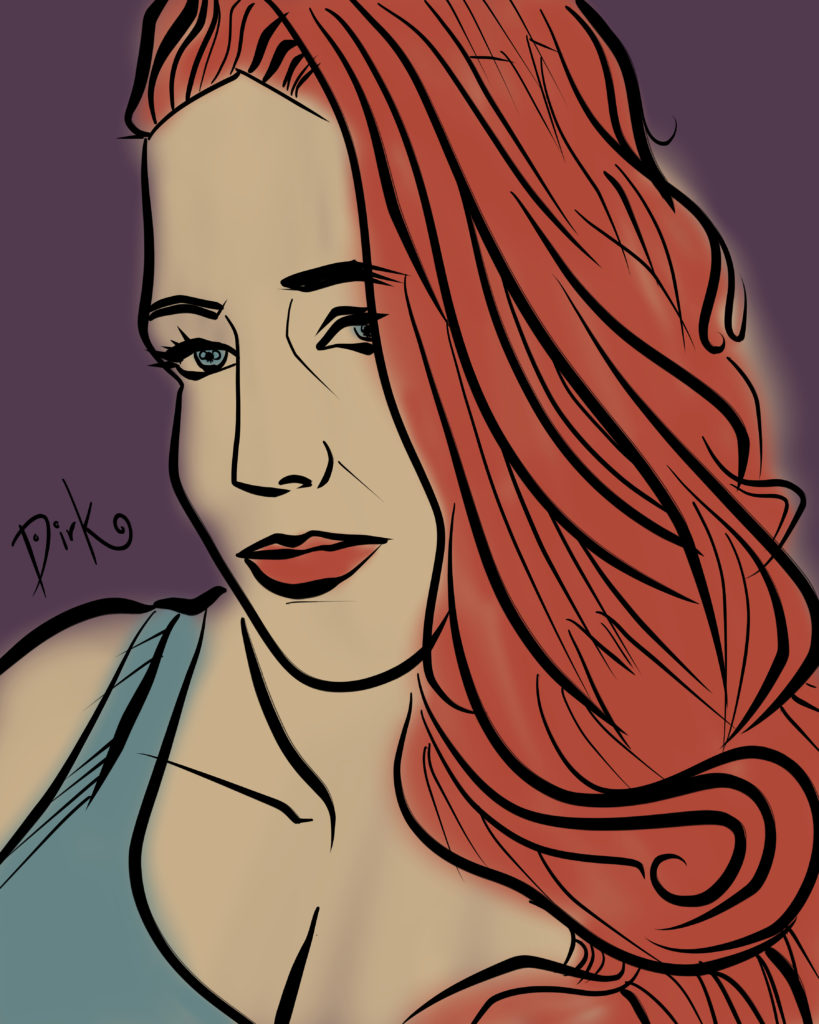
My next step was to put down several flat colors to get the look started. Again, this is not a perfect representation of Saraya’s hair color and eye color, but an approximation given my limited palette.
What I’ve discovered is that the limited palette makes the whole piece much stronger and forces me to stretch a bit. (And, I’m still learning. I hope I’m always learning.)
I used the airbrush tool to get that look. There is a nearly limitless number of color choices and ways to apply the color though.
Darkness
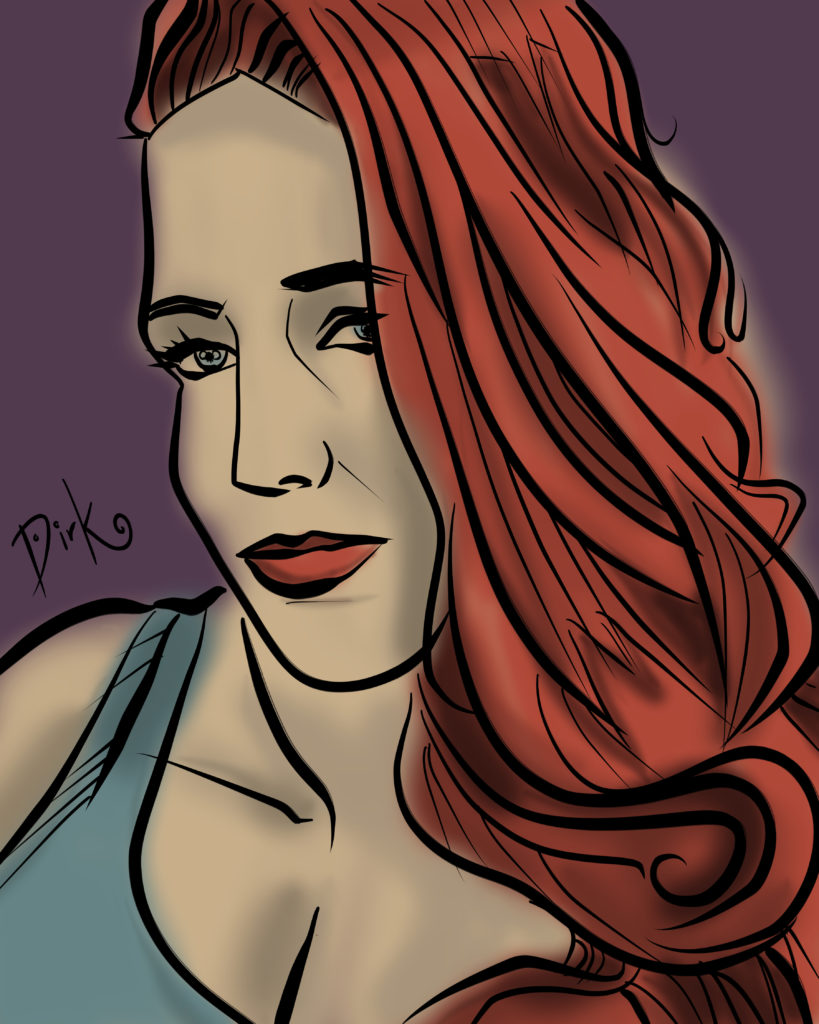
I take the base colors and choose a darker shade to begin to add shadows to the piece. You can be as thorough or as minimal as you want. The first step where I applied the base colors would be fine if you wanted that flat look to the piece.
I’m trying to get something a little more nuanced and dynamic, but the choice (and many more) is up to you.
Adding Light
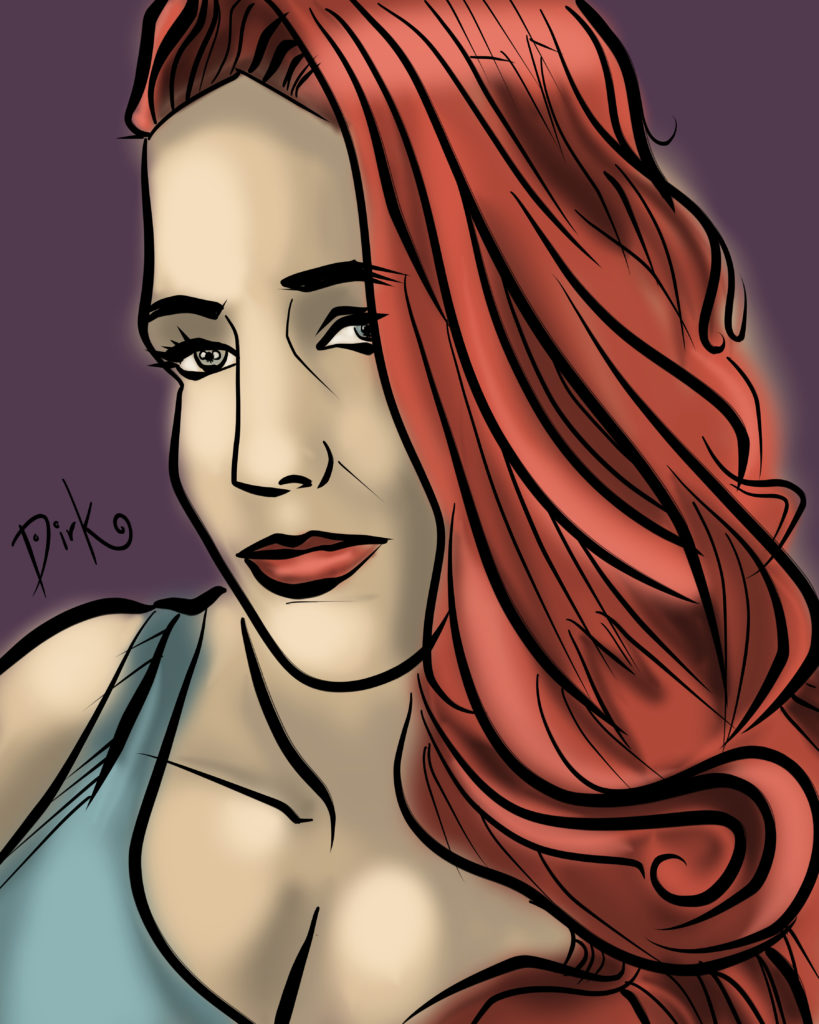
I like to add light last to a piece. The reason is that it takes so little light to completely take over the look of the piece, and I think it’s important to establish your foundational elements first.
There’s no right or wrong here. This is just the process that I’ve come up with and it works for me best.
I’m still using the airbrush tool and just choosing different colors based off the original flat colors I applied at the beginning.
Final Piece
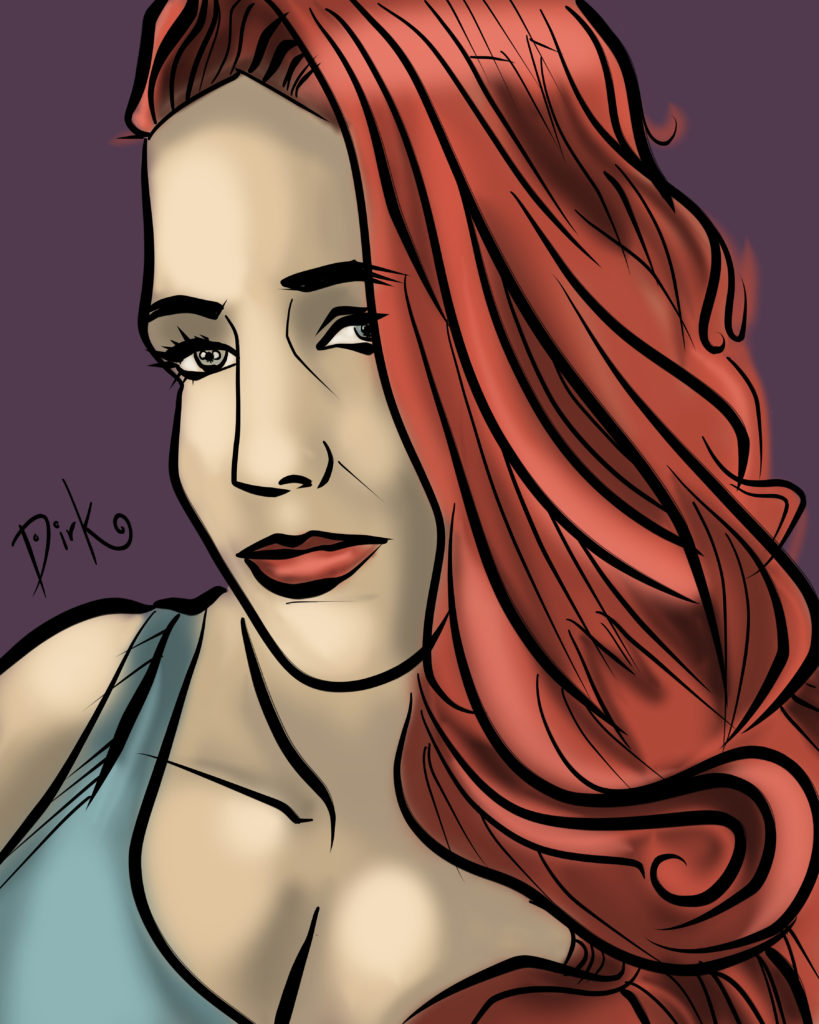
I grab the eraser tool and clean up a few places (particularly around the edges) and do some more work in other areas to make it look nice and ready.
The finished piece is saved as a JPEG file, but I also save it with all the different layers as a Clip Studio file (the background, the pencils, the inks, and color).
I can go back to this piece at any time and change any element I want. I probably won’t change a thing, but I could.
Do you want to see what Domina Saraya looks like in real life? You can visit her Twitter account here: https://twitter.com/DominaSaraya
The World of Digital Art
The process I presented is just my way to create comic-style art through Clip Studio.
There are literally millions of other variations on creating comic art, and millions more in creating digital paintings, design work, animation, and everything else you can imagine under the umbrella of “digital art.”
I hope that what I’ve shown you here gives you an idea of how one artist approaches a specific task. Although, I’ll tell you this… how I tackle this a year from now may be very different.
That’s what’s so wonderful about digital art. It’s limitless and powerful.
RT @DirkHooper: New! Breakdown of “Saraya” and Thoughts on Digital Art | Dirk Hooper Fetish Photographer https://t.co/Zmg5WNr2xX
@DominaSa…
RT @DirkHooper: New! Breakdown of “Saraya” and Thoughts on Digital Art | Dirk Hooper Fetish Photographer https://t.co/Zmg5WNr2xX
@DominaSa…
RT @DirkHooper: New! Breakdown of “Saraya” and Thoughts on Digital Art | Dirk Hooper Fetish Photographer https://t.co/Zmg5WNr2xX
@DominaSa…
RT @DirkHooper: Breakdown of “Saraya” and Thoughts on Digital Art | Dirk Hooper Fetish Photographer https://t.co/Zmg5WNr2xX
@DominaSaraya…
RT @DirkHooper: Breakdown of “Saraya” and Thoughts on Digital Art | Dirk Hooper Fetish Photographer https://t.co/Zmg5WNr2xX
@DominaSaraya…
RT @DirkHooper: Breakdown of “Saraya” and Thoughts on Digital Art | Dirk Hooper Fetish Photographer https://t.co/Zmg5WNr2xX
@DominaSaraya…